Posts

Final Blog Post

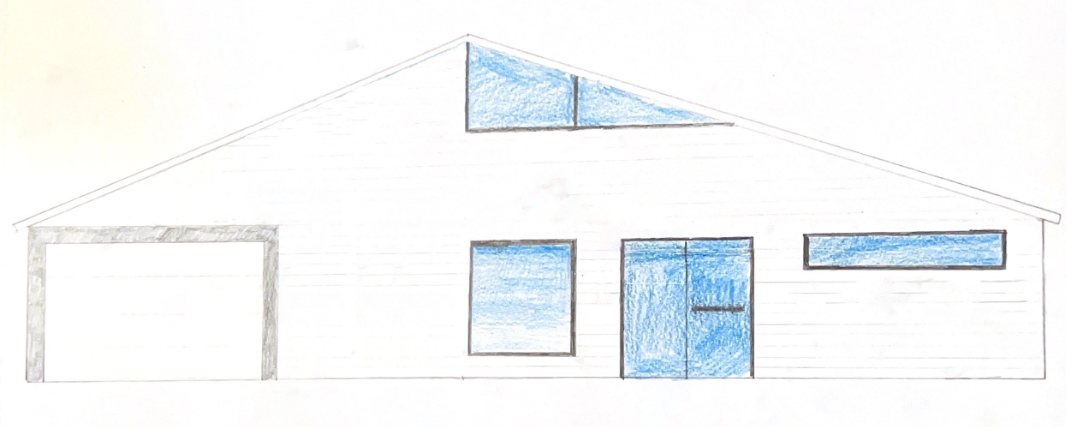
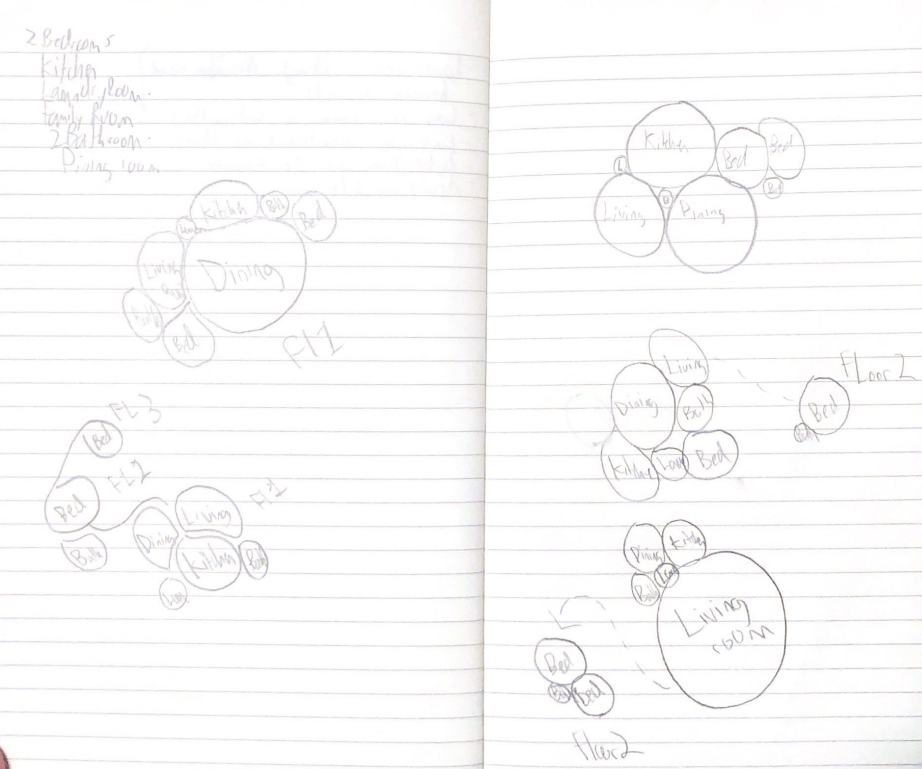
 This project was an opportunity for me to further explore my interest in architecture while at the same time working on the skills I had built up through the architecture macro. I went into this project knowing that I had a lofty goal in mind. Usually, it takes a team of architects months to fully design and deliver a building for a client, but I decided I wanted to try to do it in three weeks. Knowing this, I still wanted to try my best to get as far as I could in the design process. And I did get fairly far, seeing as how I had finished the conceptual phase of the project.  I made several drawings to display my idea, and each serves a different purpose. Throughout this project my mentor reinforced the importance of each of these drawings, making it clear without each one we couldn't get a full idea of my project. The floor/site plan displays a top-down view that develops the relationship of the rooms, as well as the relationship between the outside and inside of the buildin...

Section Drawings

Image
 The final drawings I made were of section cuts, which aimed to show the interior of the space from the same perspective as an elevation. I did two of these types of drawings, one of the social space and one of the private space. The first drawings I'll talk about is the social space. This drawing divides the space into different areas through color. The red space is the social space, which intends to show off the amount of room the social space has, both horizontally and vertically. This is shown through the scale of the TV, which gives perspective to the entire room. The green spaces are utility, which is in this case the bathroom and garage. Lastly, there is the uninhabitable space. Scary name, but it basically means a crawl space that isn't supposed to be frequented by the people living there. This can be used for storage or whatever they need, as I left it pretty much untouched. There is also new information that can be obtained from a section, such as roof trusses and fou...

Work on Elevations

Image
 Now I began my work on elevation drawings. These would be two drawings, one of the street view and one of the main entrance. These two were decided as they gave the most important sides of the house, the ones that would be seen the most. The first drawing I would like to look at is the street view. This is what someone would see from the street. The garage is surrounded by a concrete layer, and the garage door is styled like a traditional one found in many suburban neighborhoods. The exterior wall is comprised of layered, paneled wood painted white in order to give it that familiar feel to it. In contrast, the windows take on some non-traditional elements. For one, the peak of the wall is replaced by a window in order to let more light into the building. There is also a short, long window that looks into the kitchen area, a larger square window as well a window door that looks into the social area of the house. These choices were made to spruce up this otherwise sheer surface that...

Deciding on Roofs

Image
 Now that the site plan had been created, it was time to decide on a roof plan to go along with the house. There were many different schemes to go with, as I created at least seven different ideas which I thought plausible in my first round of thinking. From these seven designs, I discussed with my mentor how I should narrow them down. I looked into three main categories: Feasibility, Closeness to Passivhaus, and Aesthetics. From this I narrowed down my choices to options 2, 3, and 5. These three in my mind offered feasible solutions that didn't seem too far out there and could be integrated into neighborhoods easily. They also for the most part followed Passivhaus's ideas of sustainability through the use of sunroofs. In addition, I thought these three designs all offered a different aesthetic which I wanted to explore further. that lead to me to making a roof plan and more detailed elevations of these three designs, totaling 15 different drawings excluding the ones featured a...

Blog #4: Finalizing Site Plan

Image
 After many iterations, I finally decided on a cohesive plan for my building. While small changes can still be made here and there, the overall layout I want to remain relatively the same moving forward. This is what I've got right now. Starting from the left, the main driveway comes from the street to a one-car garage. This then connects to a concrete pathway that wraps around the house and to the main entrance. On this path there is a connecting patio that encompasses a tree that was already on the site. Along with this, there is an additional pathway that connects directly to the main patio area. Following this main patio north, you'll be greeted by the front doors, which lead to a hallway that leads to two different areas, the social space which includes the kitchen, dining room, and living room, and the private area, which has the bedrooms. These areas are around equal in square footage, but the usage of walls creates a much more closed-off group of separate spaces in the ...

Blog #3: Narrowing Down Design

Image
 Today I worked on narrowing down my final design for my house. After some consideration, I decided that I wanted to focus my efforts on creating a single story home which incorporated a outdoor front area which could be used by the people living there. I started by first drafting out an initial, large scale design of what this area could look like with square footages included. From this initial design, my mentor and I discussed what could be changed about this design, the first order was downsizing. This design was very spacious, in fact it had too much room for my project. This was because my project was supposed to be affordable. Along with that, some rooms were just bigger than they needed to be. Take for instance the utilities room and bathroom, which had more than enough space. This would create kind of an empty feeling to the space, one which I think we can all agree is not wanted in a house. After discussing this along with some other design choices, such as creating one l...

Blog 2: Bubble Diagrams and Floor Layouts

Image
During the beginning of my project, my mentor introduced me to several ways of imagining the layout of the house, the first of these being a bubble diagram. The bubble diagram is a way of detailing a house by labeling each important room in the house with a bubble, and then arranging and sizing those bubbles by how important they are and their relationships to the other rooms in the house. You can also draw lines between the bubbles to demonstrate proximity, but that's really up to the maker's preference. Lines between bubbles can also determine a different floor. For my project, I made about five bubble diagrams all with different layouts depending on the rooms I wanted to prioritize as well as how many floors I wanted to have. The drawings I did for them are below: After discussing with my mentor, I decided the best concepts to follow were the three on the right. All three of these prioritize a first floor which ad all three of the major social rooms which I wanted in my desi...